
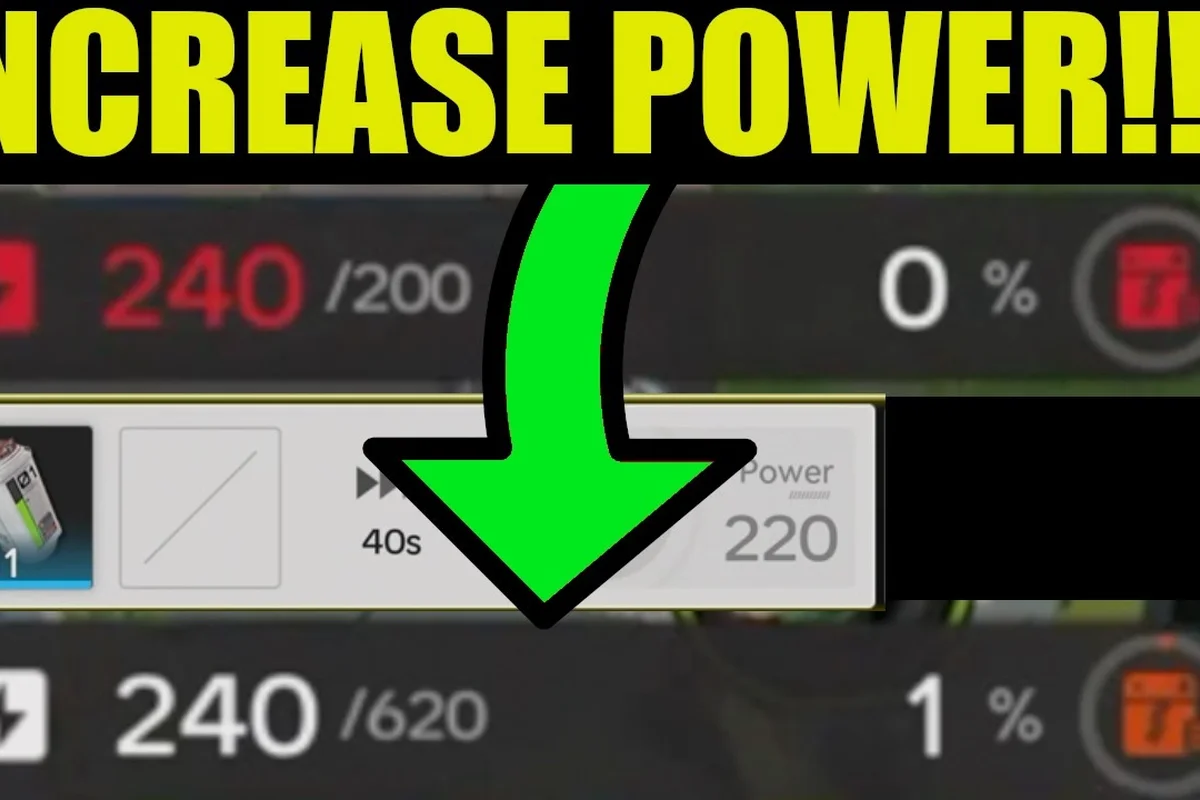
Power is the single hardest ceiling in the AIC factory layer of Arknights: Endfield, and almost every new base manager hits it within the first few hours of building out their first mining outpost. Every conveyor, every processor, and every ore extractor draws wattage from one shared grid budget, and the moment you exceed that budget, the affected facilities do not slow down — they trip offline and stop producing entirely. That hard cutoff is the reason a successful run on increasing power in Arknights: Endfield is built around expanding generation before adding consumers, not the other way around.
This guide focuses on the factory-side wiring and outpost placement decisions that actually move the wattage number upward. The combat-side "power" conversation (imbalance gauges, combo chains, ultimate timing) is a separate system with its own loop, and you can read about that on the Arknights: Endfield combat system guide. What follows here is a factory-only plan: how the AIC grid behaves, where to drop mining outposts on the resource node map, and how zipline routing keeps your ore farming pipeline fed without tripping relays.
How the AIC Power Grid Actually Works
The AIC (Automated Industrial Complex) grid is a single shared wattage pool that every building in your base draws from simultaneously. Adding a new conveyor, smelter, or assembler does not give you a fresh pool — it pulls from the same budget that the rest of your base is already consuming, which is why a base that "worked fine yesterday" can suddenly brown out the moment you place one extra refinery. According to the official Arknights: Endfield site, exceeding the grid trips facilities offline rather than merely slowing them, so the design philosophy for power output optimization is to expand generation capacity before you add new consumers, and to keep cable runs short enough that transmission load does not silently eat into your reserve.
Generation, Transmission, and Consumption
The grid splits into three layers, and each one has a different cost profile. Generation is the source — typically a thermal or a geothermal stack — and each generator contributes a flat wattage to the pool regardless of distance. Transmission is the cable network that carries wattage from generators to consumers, and longer cable runs incur transmission loss that quietly reduces the wattage delivered at the far end. Consumption is every building downstream: conveyors, splitters, smelters, packagers, and the mining outpost itself.
| Layer | What It Does | Main Cost | Failure Mode |
|---|---|---|---|
| Generation | Produces wattage into the pool | Build slots, fuel inputs | Insufficient total wattage trips all consumers |
| Transmission | Carries wattage to facilities | Cable length, relay count | Long runs cause brownouts at far nodes |
| Consumption | Drains wattage to run machines | Per-machine draw rating | A spike in one region can brown out neighbors |
Why Brownouts Happen Mid-Base
A common pattern reported by players is that one half of the base runs fine while the other half flickers offline whenever a smelter starts a new batch. The reason is almost always transmission distance combined with a local consumption spike, not a global wattage shortage. A smelter firing up momentarily draws a heavy load, and if that smelter sits on the same cable segment as three other consumers, the segment voltage drops below the threshold and every connected building trips offline together. The fix is not to add more generators — it is to put a relay between the high-draw block and the rest of the base, so the spike stays local and cannot pull the rest of the grid down with it.
Mining Outpost Placement on the Resource Node Map
The mining outpost is the single biggest wattage draw in most early bases, and where you put it on the resource node map matters more than which tier of outpost you build. The general rule from community testing is to place the outpost as close as possible to the highest-density ore cluster, accept the zipline cost to ship ore back to the main base, and avoid the temptation to chain the outpost through a long conveyor run directly into a smelter — the cable distance and the conveyor wattage combined will eat the savings.
Reading the Resource Node Map
Each region on the resource node map shows ore density as a heat value, with brighter clusters representing richer and more respawnable nodes. According to the the official Endfield site (Russian), richer clusters respawn faster and yield more units per worker shift, which is why a slightly farther outpost on a rich node often outperforms a closer outpost on a thin node. For an ore farming guide that holds up across multiple play sessions, prioritize the bright clusters first, even if it means laying a longer zipline back to the smelter.
| Node Type | Density | Respawn Speed | Recommended Use |
|---|---|---|---|
| Bright cluster | High | Fast | Primary outpost anchor |
| Mid cluster | Medium | Average | Secondary outpost or relay node |
| Faded cluster | Low | Slow | Skip — not worth the worker slot |
| Isolated node | Single | Variable | Hand-mining only, do not build here |
How to Use Ziplines for Ore Farming
A zipline is the right answer for any ore run longer than roughly 30 in-game meters, because the cable wattage cost of a long conveyor line dwarfs the zipline's per-trip cost. Lay the zipline from the outpost drop-off point straight back to a smelter or a sorting buffer at the main base, and keep the route as straight as possible — bends add distance and reduce throughput. The Arknights: Endfield material map has a useful breakdown of where the major aurylene and origeometry clusters sit relative to the early-game base sites, and pairing that with a short zipline almost always beats the alternative of building a relay tower halfway across the map.
Power Output Optimization Through Grid Layout
Once generation and outposts are placed, the next lever for power output optimization is the actual wiring of the grid. Most early bases wire everything in one long daisy chain because it looks tidy on the planning view, but a daisy chain forces every consumer to share voltage with every other consumer on the same cable. Splitting the base into regional segments with a relay between each segment isolates brownouts so a single spike cannot take down the whole factory.
Relay Placement and Voltage Bands
A relay is a cheap building that resets the cable length on its output side, so anything downstream of the relay behaves as if it were wired directly to a fresh generator. The standard layout is one relay between the main generation cluster and the smelter block, a second relay between the smelter block and the packaging block, and a third between the packaging block and the outpost feed. That three-relay backbone keeps each functional zone on its own voltage band, and a spike in one zone stays inside that zone.
| Zone | Building Type | Recommended Relay | Draw Profile |
|---|---|---|---|
| Smelter block | Smelters, sorters | Yes — separate from main grid | Spiky, heavy per batch |
| Packaging block | Packers, buffers | Yes — downstream of smelter | Steady, medium |
| Outpost feed | Conveyors to zipline drop | Yes — downstream of packager | Steady, low |
| Support services | Lights, repair bays | Optional — can share with main | Very low |
How Long Cable Runs Cost You Watts
Transmission loss is roughly proportional to cable length, and the loss becomes noticeable past about 20 in-game meters on a single uninterrupted run. If you find yourself running a cable longer than that, the right move is a relay rather than a thicker cable — thicker cable reduces loss but increases the per-segment wattage cost, and the relay solution is almost always cheaper. This is the same reason a daily checklist for credits and oroberyl recommends routing high-value material lines through dedicated relays instead of mixing them with the general conveyor loop.
Power Ceiling Expansion: Adding Generation
Once the grid is laid out cleanly with regional relays, the next step in any run on how to increase power in Arknights: Endfield is to add a second generator. The first expansion is almost always a higher-tier generator on a different fuel source, because stacking two of the same generator on the same fuel does not give you much extra headroom — both generators throttle when fuel runs low. A second fuel source smooths the supply curve and lets both generators run near their rated output most of the time.
Choosing the Second Generator
| Generator Tier | Fuel Source | Output | Best Pairing |
|---|---|---|---|
| Tier 1 Thermal | Basic fuel | Low | Early game only |
| Tier 2 Thermal | Refined fuel | Medium | Pair with Tier 1 for smooth ramp |
| Tier 1 Geothermal | Heat plate | Medium | Flat output, no fuel swings |
| Tier 2 Geothermal | Heat plate cluster | High | Mid-game expansion target |
A geothermal generator has a flat output that does not swing with fuel deliveries, which makes it the best pairing for a thermal generator that spikes and dips through the day. According to community testing reported on player threads, the thermal-plus-geothermal combo gives the most stable base output because the geothermal covers the thermal's low points and the thermal covers the geothermal's ramp-up window.
Where to Place the Second Generator
Place the second generator on the opposite side of the base from the first, then run separate cable runs to the relay backbone. Placing both generators on the same side forces the combined output through the same cable segment, which defeats the point of adding the second unit. The split placement means each generator feeds its own half of the relay network, and the relay backbone ties the two halves together so they back each other up.
Power Grid Faults and Their Fixes
Most early bases run into the same handful of grid issues, and almost all of them are layout mistakes rather than wattage-shortage mistakes. The first instinct when a base browns out is to add another generator, but in most cases the actual problem is cable length, missing relays, or a mining outpost on a thin node. Here is the short list of patterns that show up repeatedly in factory troubleshooting.
| Mistake | Symptom | Fix |
|---|---|---|
| Daisy-chained grid | Whole base browns out together | Insert relays between zones |
| Outpost on faded node | Low ore flow, wasted worker | Move to bright cluster, add zipline |
| Two generators same side | Output not summing | Split placement, separate cable runs |
| Long conveyor to outpost | Transmission loss, brownout | Replace with zipline |
| Smelter on main line | Spikes brown out neighbors | Move smelter to its own relay segment |
Reading the Grid Diagnostics
The AIC overlay shows per-segment wattage draw in real time, and the most useful number to watch is the peak draw on each segment, not the average. A segment that reads 80% on average but spikes to 120% during a smelter batch is the segment that will brown out first. Identifying those spikes and moving the spiky consumer to its own relay segment is the single highest-impact layout change you can make once the basics are in place.
When to Stop Expanding Generation
There is a point where adding more generators stops helping, because the transmission network itself becomes the bottleneck. According to the official Arknights: Endfield site, exceeding the grid budget trips facilities offline, which means a base with three generators and one cable run is not actually running three generators — it is running one cable. The signal that you have hit the transmission ceiling is that adding a fourth generator does not raise the per-segment peak draw on any single segment. At that point the right move is to upgrade the relay backbone to a higher tier, not to keep stacking generators on the same cable.
Building a Long-Term Power Plan
A power plan that holds up across multiple sessions is built around three ideas: anchor the base on a rich node cluster, separate the grid into relay-bounded zones, and pair thermal with geothermal generation so the supply curve is smooth. Once those three pieces are in place, further increases in factory output come from upgrading individual machines and adding more outposts, not from chasing the wattage ceiling. The wattage ceiling is a floor, not a target — you want enough headroom that brownouts never happen, and you want the layout clean enough that adding a new consumer does not require rewiring the whole base.
The progression path that works for most players is to clear the early story content, unlock the geothermal generator, place the first mining outpost on a bright cluster, and then build out the three-relay backbone. After that, every new machine slots into a zone that already has its own relay, and the grid absorbs the new draw without complaint. For a broader plan on how the factory layer connects to the rest of the game loop, the Arknights: Endfield progression guide covers the combat and story pacing that runs alongside the factory work.
The short version of how to increase power in Arknights: Endfield is: place outposts on bright resource clusters, lay ziplines for any ore run longer than 30 meters, split the base into relay-bounded zones, and pair thermal with geothermal generation. Get those four pieces right and the wattage ceiling stops being the bottleneck — the bottleneck becomes how fast you can build new machines, which is a much more fun problem to have.
Frequently Asked Questions
What is the fastest way to expand power output in Arknights: Endfield?
The fastest reliable expansion is to add a geothermal generator on the opposite side of the base from your thermal generator, then add a relay between the smelter block and the rest of the base. That combination removes the most common brownout source without requiring a full rewiring, and it scales well into mid-game when you add a third generator.
Where should I place a mining outpost on the resource node map?
Place the outpost on a bright cluster, not a faded one, even if it sits farther from the main base. Richer nodes respawn faster and yield more units per worker shift, so the longer zipline cost is almost always worth it. For an ore farming guide, prioritize the brightest cluster in your currently unlocked region first, and build a second outpost only after the first is running at full capacity.
How do ziplines help with power output optimization?
A zipline replaces a long conveyor line, and a long conveyor line is one of the biggest transmission-loss sources in the grid. Swapping a 40-meter conveyor for a zipline frees up the wattage that the conveyor was drawing and removes the transmission loss along that segment, which is enough headroom to add a new consumer without tripping the relay. Ziplines are also cheaper per trip past the break-even distance, so they are the right answer for any ore run over 30 meters.
Why does my base brown out even though the total wattage is enough?
Almost always this is a transmission problem, not a generation problem. The wattage is fine in aggregate, but a single cable segment is too long or too loaded, so the voltage at the far end drops below the trip threshold. The fix is a relay on that segment, not another generator.
How many relays should a mid-game base have?
Three is the standard count: one between the main generation cluster and the smelter block, one between the smelter block and the packaging block, and one between the packaging block and the outpost feed. That three-relay layout isolates the smelter spikes from the rest of the base, which is the single most common cause of mid-game brownouts.