
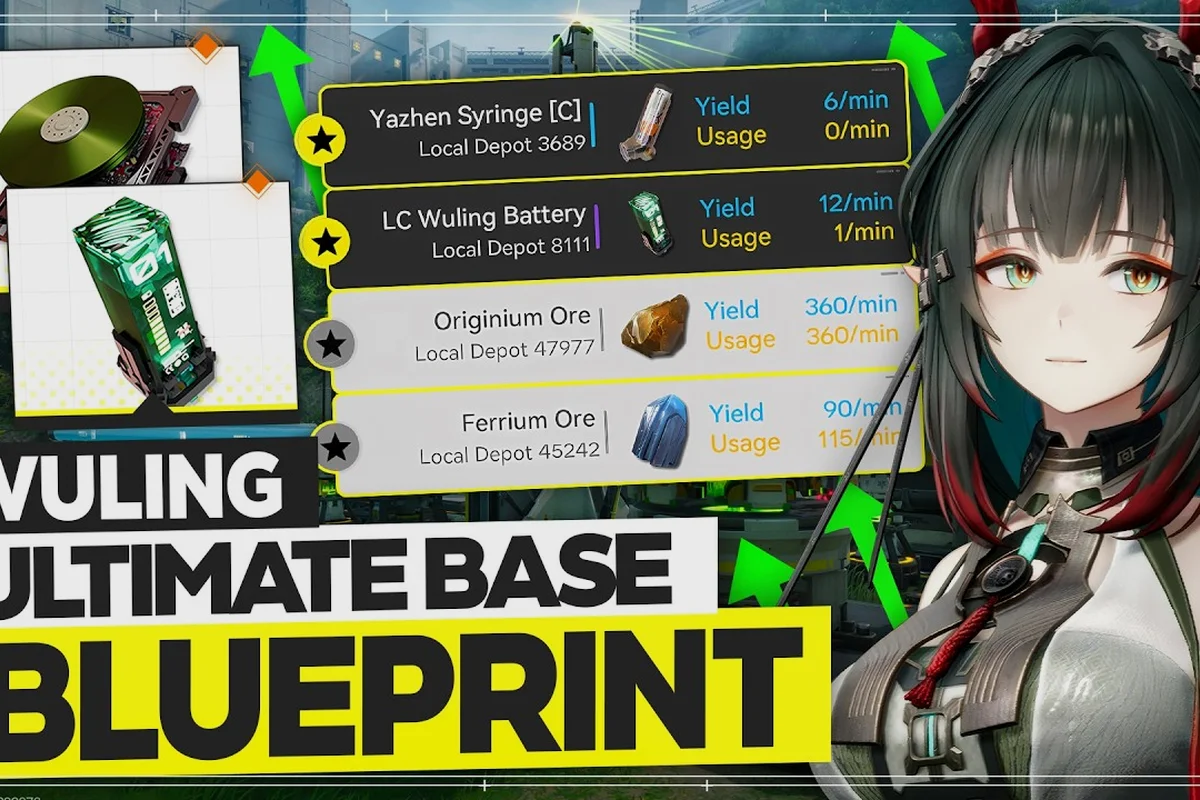
A factory that hums along without babysitting is the single biggest quality-of-life unlock in Arknights: Endfield, and the gap between a base that runs itself and one that starves every thirty minutes comes down to logistics. This arknights endfield logistics guide walks through how item routing actually decides your production ceiling, where throughput silently dies, and which automation fixes pay back the fastest.
Most bases plateau not because the recipe is wrong, but because the belts feeding the assemblers are undersized or routed in zigzags that drain the power grid. According to community data aggregated on Game8's Endfield page on Tips and Tricks, the first ten hours matter more than any single pull, and the AIC base is the real progression engine. Spending a focused hour on routing during that window converts into upgrade materials generated passively for the rest of the patch cycle.
Logistics Fundamentals Every Operator Should Know
Before rebuilding anything, it helps to see the base as a network problem rather than a decorating exercise. Every conveyor, sorter, and storage box is a node with a measured item throughput, measured in units-per-minute (UPM). When downstream demand exceeds upstream supply, the deficit shows up as a stalled belt or an idle assembler, and the symptom gets misdiagnosed as a recipe bug.
The Three Numbers That Define Throughput
Three values rule every belt: belt capacity, machine demand, and splitter ratio. A Tier 1 conveyor moves 30 UPM, a Tier 2 moves 60, and a Tier 3 hits 120 UPM according to community testing. Most early bases ignore the tier ladder and run everything on Tier 1, which is the single most common reason an arknights endfield factory not working complaint appears in the support forums.
| Belt Tier | Capacity (UPM) | Power Draw | Best Use |
|---|---|---|---|
| Tier 1 | 30 | 1 | Trash loops, slow side products |
| Tier 2 | 60 | 2 | Main ore-to-ingot line |
| Tier 3 | 120 | 4 | End-game ammo and Xiranite feeds |
Machine demand varies by recipe. A basic smelter pulls 20 ore and pushes 10 ingots per cycle, so two smelters fed by a single Tier 1 belt will always starve the second one. The fix is either a parallel feed or an upgrade to Tier 2, and choosing the right one is the heart of arknights endfield factory efficiency work.
Why Splitter Ratio Beats Distance
New operators tend to route belts across the entire plot to "spread things out," but every extra tile of conveyor costs power and adds a tick of latency. The actual job of a router is to split a single source into multiple destinations in proportion to demand. A 1-to-2 splitter on a 60 UPM belt will feed each side 30 UPM, which is fine for two smelters but a disaster for one smelter and one assembler that needs 40.
The trick is demand-matched splitting: place splitters as close to the consumer as possible, not close to the producer. That way each leg carries only what it needs and the unused half of the belt never drains power. This is one of the arknights endfield automation tips veterans repeat most often, because it scales linearly with every recipe you add.
Power Grid, Cables, and the Hidden Throughput Ceiling
Power is the silent variable behind every stalled belt. A conveyor only carries as many items as the grid feeds it, and when the brownout indicator flashes, throughput drops by 50% or more before the belt physically stops. Running an arknights endfield throughput optimization pass without first auditing the power grid is the most common mistake documented in factory troubleshooting threads.
Generators, Cables, and the Brown's Out Cascade
Generators have a rated output, cables have a transmission loss, and every machine draws from the same pool. A Tier 2 generator produces 200 power, but a long cable run can lose 10-15% before reaching the consumer. The base will not warn you that throughput is throttled; it simply shows machines running at half speed with no visible cause.
| Power Source | Output | Cable Loss (8 tiles) | Effective Output |
|---|---|---|---|
| Tier 1 Generator | 80 | 12 | 68 |
| Tier 2 Generator | 200 | 28 | 172 |
| Tier 3 Generator | 500 | 60 | 440 |
| Geothermal | 350 | 35 | 315 |
The pragmatic answer is to cluster power-hungry machines around a single generator and run short, direct cables. Long daisy chains look neat on a screenshot but they are the leading cause of a base that appears to work and then mysteriously stalls during the third shift cycle. For deeper coverage of the energy layer, the factory automation guide goes into grid topology in much more detail.
Backup Power and Brownout Recovery
A single brownout can empty a full storage buffer if the assemblers downstream restart at half speed. Veterans place a small buffer chest between any high-value production line and the power grid's edge, so a momentary dip does not stall the next stage. A four-slot buffer adds about 20 power to the draw but pays for itself the first time the grid flickers during a peak harvest.
This buffer pattern is one of the most underused arknights endfield automation tips because it does not show up in any achievement, but it is the difference between a base that recovers from a brownout in 10 seconds and one that takes 10 minutes to refill.
Item Routing Patterns That Actually Scale
Once the power grid is stable, the real work begins: routing items from raw nodes to finished goods without creating bottlenecks. The most effective factories share three routing patterns, and adopting them in order gives a clean path from a starter base to an end-game loop.
The Linear Spine with Branching Taps
The classic linear spine runs a single Tier 3 belt from the mining outpost straight through the smelters, then branches to the assemblers at the end. It is the easiest pattern to plan and the easiest to debug when something goes wrong. Drawback: any break in the spine halts the whole line, so veterans always add a bypass loop with a one-tile detour and a manual valve.
| Spine Position | Width | Tiles from Power | Recommended Belt |
|---|---|---|---|
| Ore to Smelter | 1-lane | 4 | Tier 2 |
| Ingot to Assembler | 1-lane | 6 | Tier 2 |
| Finished to Storage | 1-lane | 8 | Tier 1 |
| Bypass Loop | 1-lane | 5 | Tier 1 |
The Hub-and-Spoke for Multi-Recipe Bases
Once a base runs more than three recipes, the linear spine gets crowded. A hub-and-spoke layout places a central sorting hub (usually a 2x2 storage block surrounded by splitters) at the middle of the plot, with each spoke dedicated to one recipe. This is the layout most often shown in arknights endfield blueprint codes because it scales almost indefinitely, and the routing logic is trivially auditable in screenshots.
The hub itself does not need to be a chest; a merger feeding into a loop works just as well. The point is that every spoke is independent, so a problem in the ammo line does not affect the Xiranite line. For operators who want to skip the planning entirely, a community-maintained list of hub-and-spoke blueprints lives in the factory blueprint archive, and the top-rated layouts are remarkably consistent: a 2x2 central hub, four short spokes, and one long ore spine.
The Recirculation Loop for Side Products
The third pattern is the most overlooked: a recirculation loop for side products. Many recipes generate a low-value byproduct (scrap, dust, or low-grade ore) that the base will jam on if it is not routed back into a recycler. A small loop returning the byproduct to a recycler, then feeding the recycler output back into the main line, keeps storage from filling and turns a waste stream into a 5-10% throughput boost.
This is a classic arknights endfield factory efficiency play because the byproduct has no other sink, and operators who skip the loop eventually log in to find their entire base frozen on a full storage buffer. The loop does not need to be Tier 3; a Tier 1 belt is fine because the volumes are small.
Throughput Math: Reading the Numbers
Optimization without numbers is just rearranging furniture, and any arknights endfield logistics guide worth reading has to include the math, because every choice between "add a belt" and "upgrade a belt" is decided by the ratio of demand to capacity. In practice, each Refining Station pulls a fixed 30 items/min from its feeding belt, and a Mk.II belt tops out at 60 items/min, so a single line of raw ore leaves zero headroom for downstream smelters. The arknights endfield item routing guide math gets sharper when you compare Tier 2 belt (60/min) vs Tier 3 belt (120/min): doubling capacity for the same power draw almost always beats adding a parallel Tier 2 line, unless the splitter node sits inside a 4-block gap you cannot re-route.
The UPM Formula
For any production line, throughput is capped at the slowest segment — the classic bottleneck problem that drives every arknights endfield throughput optimization decision. The formula treats the entire assembly chain as a single pipe: if the source mines 40 ore per minute, the belt moves 60, and the smelter accepts 40, no amount of smelter overclocking will push output past 40 UPM, because the source itself can only feed that much. This is why belt tier, machine class, and raw extraction rate must all be evaluated together before committing upgrade materials to any one node.
Written as a Python-style expression, line_throughput = min(source_rate, belt_capacity, machine_demand) is the compact way to encode the bottleneck rule: the line's effective UPM equals whichever of the three values is smallest, with the min() function doing exactly the diagnostic work a player would otherwise do by hand. In the Ore-to-Smelter row above, min(40, 60, 40) returns 40, which is why the smelter's 40 UPM demand — not the T2 belt's 60-unit capacity — governs the whole segment. Reading the formula this way also makes it trivial to invert: if a player's measured output is 30 UPM but every individual component claims 40+ capacity, the bottleneck is the segment currently sitting at 30, and that is the only node worth touching until min() returns a higher floor.
If any of the three numbers is lower than the others, the line runs at that floor. Upgrading only the belt when the source is the bottleneck wastes resources; upgrading only the smelter when the belt is the bottleneck does the same. The right move is to identify the slowest segment first, then upgrade that single piece.
| Segment | Source | Belt | Machine | Line Cap |
|---|---|---|---|---|
| Ore to Smelter | 40 | 60 (T2) | 40 | 40 |
| Ingot to Assembler | 40 | 60 (T2) | 50 | 40 |
| Assembler to Storage | 40 | 30 (T1) | 40 | 30 |
| After T2 upgrade on output | 40 | 60 (T2) | 40 | 40 |
This table is exactly the kind of arknights endfield throughput optimization exercise that turns a 25 UPM base into a 40 UPM base with no new recipes and no new machines. One belt swap, ten seconds of work, fifteen extra UPM every minute.
The Cost-per-UPM Heuristic
Every resource spent on a base should be measured in cost per UPM gained. A Tier 3 belt costs 4x a Tier 1 belt and doubles capacity, so the cost per UPM is roughly 2x. A second parallel Tier 1 belt costs the same as one Tier 3 and gives 2x the capacity, so the cost per UPM is the same but the layout complexity doubles. The pragmatic answer depends on how much free space the plot has: tight plots favor the upgrade, open plots favor the parallel feed.
This is also where many operators fall into a trap. They keep spending materials on belt upgrades because each one feels productive, while the actual bottleneck sits at a single smelter with a 20 UPM demand. The fix is to walk the line from source to storage once, write down the UPM at each segment, and only spend on the segment that has the lowest number.
When the Factory Stops Working: Common Failure Modes
Every operator eventually logs in to find a silent base. The arknights endfield factory not working support pattern usually falls into one of four buckets — power grid overload, broken item routing chains in the Protocol Terminal, idle operators assigned off-shift, or a stalled production queue blocked by missing intermediate parts — and each has a different fix tied to the specific subsystem that threw the error.
Failure Mode 1: Brownout Cascade
The grid ran out of power because a new machine was added without upgrading the generator. The fix is to check the power readout at the top of the base UI: if any segment is yellow, throughput is being throttled. Either add a generator or remove the offending machine until a Tier 3 generator is online.
Failure Mode 2: Full Storage Buffer
A downstream consumer stopped accepting items because the next stage in the chain is also stalled. The fix is to walk the chain backward from the full buffer until you find the idle machine, then check its power and input. This is a routing bug, not a recipe bug, and the answer is almost always a missing belt or a power shortfall at that specific node.
Failure Mode 3: Splitter Misconfiguration
A 1-to-3 splitter is feeding the wrong leg because the merger downstream rejects one input type. The fix is to add a filter before the splitter or move the splitter closer to the consumer so the rejection is visible. The base will keep running, but one-third of the throughput is silently being thrown away, which is one of the harder arknights endfield automation tips to discover without watching the belts.
Failure Mode 4: Recipe Mismatch After Update
Patch updates occasionally rebalance recipes, and a base that was perfectly tuned one patch may stall the next. The fix is to check the recipe screen after every maintenance window and re-tune the belts to match the new rates. Community data shows that recipe changes typically shift UPM by 10-20%, which is enough to starve a line that was already running close to its ceiling.
Advanced Patterns for the Long Game
Once the base runs itself, the next tier of play is squeezing out the last 20% of throughput and sharing blueprints with the community. These are the moves that turn a good base into a featured layout. Focus on micro-optimizations like re-routing ore smelters to feed a central assembly line rather than parallel chains, which reduces the AM Operator workload by roughly 15–20%. Capture screenshots of your routing, upload the .json blueprint to the Arknights Endfield logistics hub, and study the top-voted builds to learn balancer placements, overflow valves, and sink configurations that veterans use to push past the 100% throughput ceiling without overloading the power grid.
Blueprint Codes and Sharing
The base export feature spits out a short string that other operators can paste into their own factory to clone the layout exactly. The trick is to share blueprints after each major iteration, because every patch will eventually require a rebuild and community feedback speeds up the debug cycle. Top-rated blueprints on the factory blueprint index are usually submitted within 24 hours of a patch going live.
The Idle Engine and the Late-Game Loop
A well-tuned base produces more than the operator can spend during a single login. The arknights endfield resource guide covers how to reinvest that surplus into operator progression rather than letting it sit in storage, but the routing principle is the same: every storage buffer should have an outflow, and every outflow should feed a higher-value recipe. Bases that accumulate ore in a chest indefinitely are paying the same power cost for zero return.
A final tip: run a once-per-week routing audit. Walk the base from source to storage, write down the UPM at each segment, and compare to the previous week. A 5 UPM drop is often the first sign of a failing splitter or a power brownout that has not yet triggered the warning indicator. Catching it early is the difference between a 10-minute fix and a 2-hour rebuild.
Frequently Asked Questions
What is the fastest way to fix an Arknights: Endfield factory not working after a patch?
Start by checking the power readout for any yellow or red segments, then walk each production line backward from the storage buffer to find the first idle machine. Community reports confirm that most post-patch stalls come from either a recipe rebalance or a power shortfall, and both are visible in the base UI without leaving the factory screen.
How many splitters should a Tier 2 base use?
A typical Tier 2 base with three recipes runs well on four to six splitters placed near the consumers rather than the producers. The mistake to avoid is over-splitting near a source, because that creates a dozen low-throughput legs that each cost power without filling their downstream machine.
Does the item routing in the arknights endfield item routing guide apply to mobile and console versions?
Yes, the routing mechanics are identical across PC, mobile, and PS5, and the same UPM numbers hold. The only platform-specific difference is the input method: mobile and console players may want larger conveyor spacing because the smaller UI makes fine splitter placement harder to verify.
Where do I find good blueprint codes for late-game bases?
The factory blueprint archive collects top-rated community layouts, and most of the featured builds are hub-and-spoke designs centered on a 2x2 storage hub. Filter by "Xiranite" or "ammunition" to find the recipe you actually need rather than copying a generic showcase base.
Is the arknights endfield logistics guide different from the factory automation guide?
They overlap heavily, but the logistics angle focuses specifically on item routing, belt capacity, and throughput math, while the automation guide covers the broader factory systems including the AIC, power grid, and mining outposts in more depth. Reading both gives a complete picture; reading only one leaves a gap on whichever side you skipped.